


Why DIY paint touch ups are a bad idea
And I tried to fix the lacquer peel on my Alfa GTV anyway

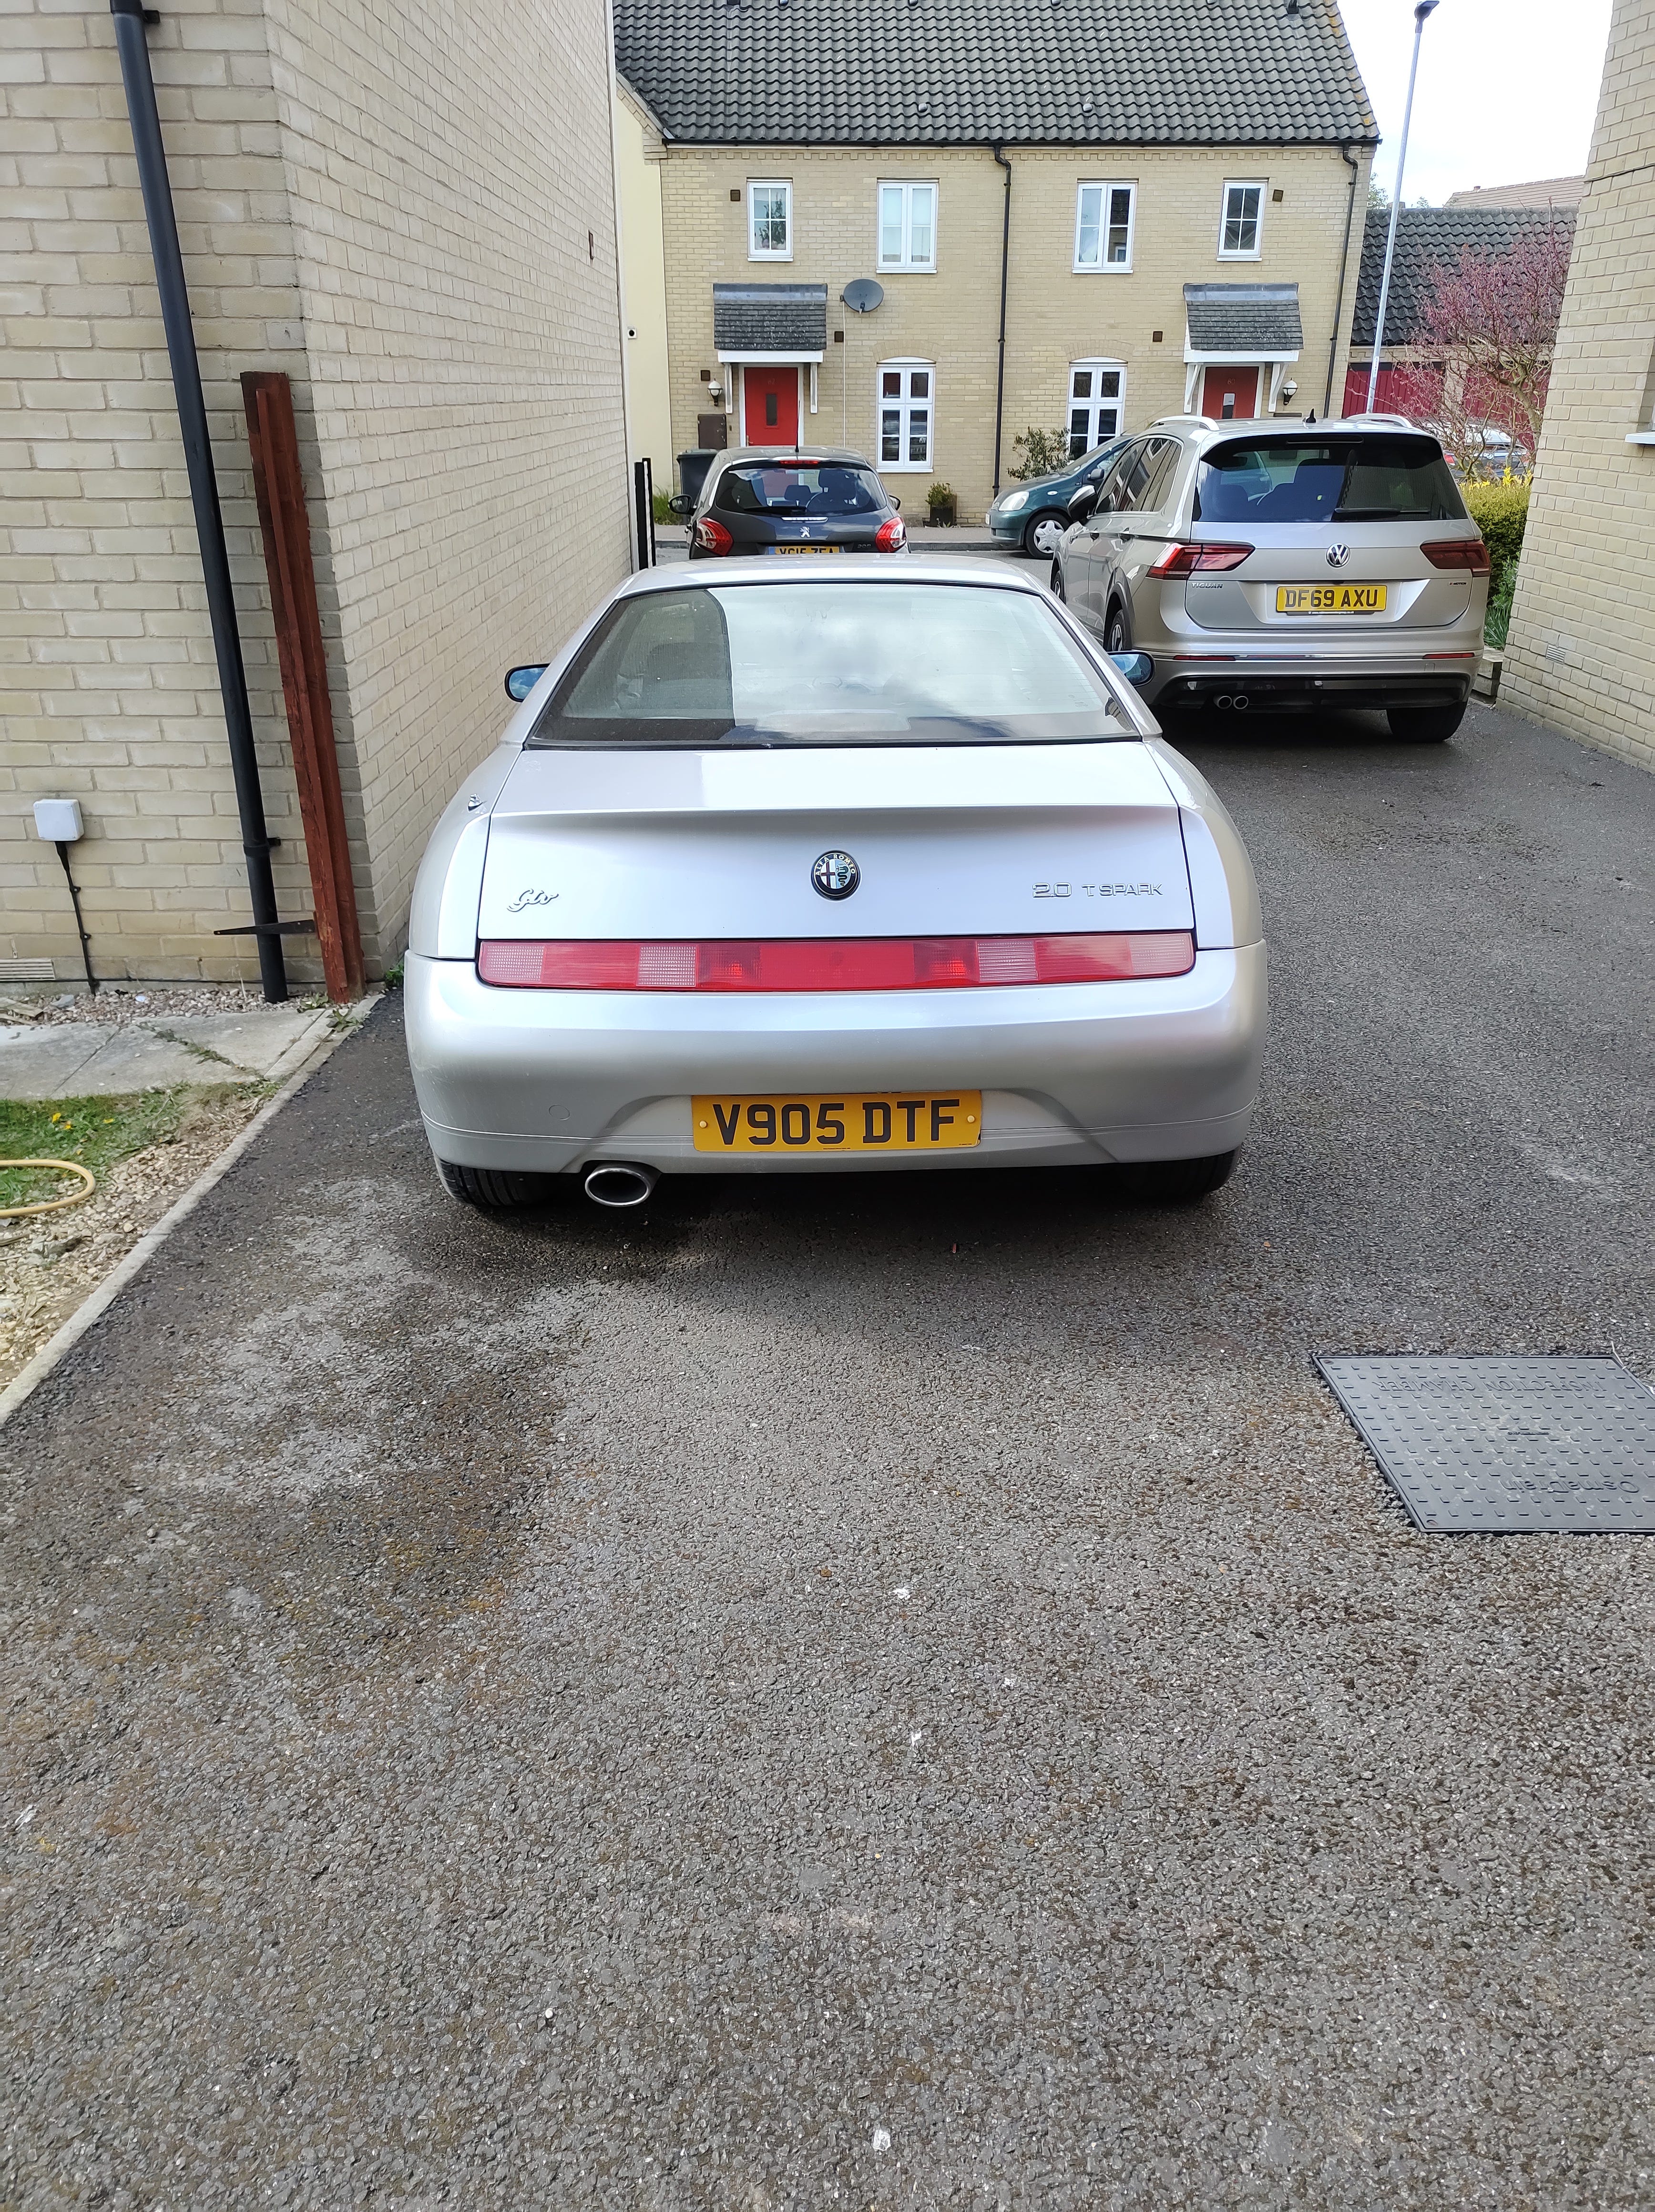
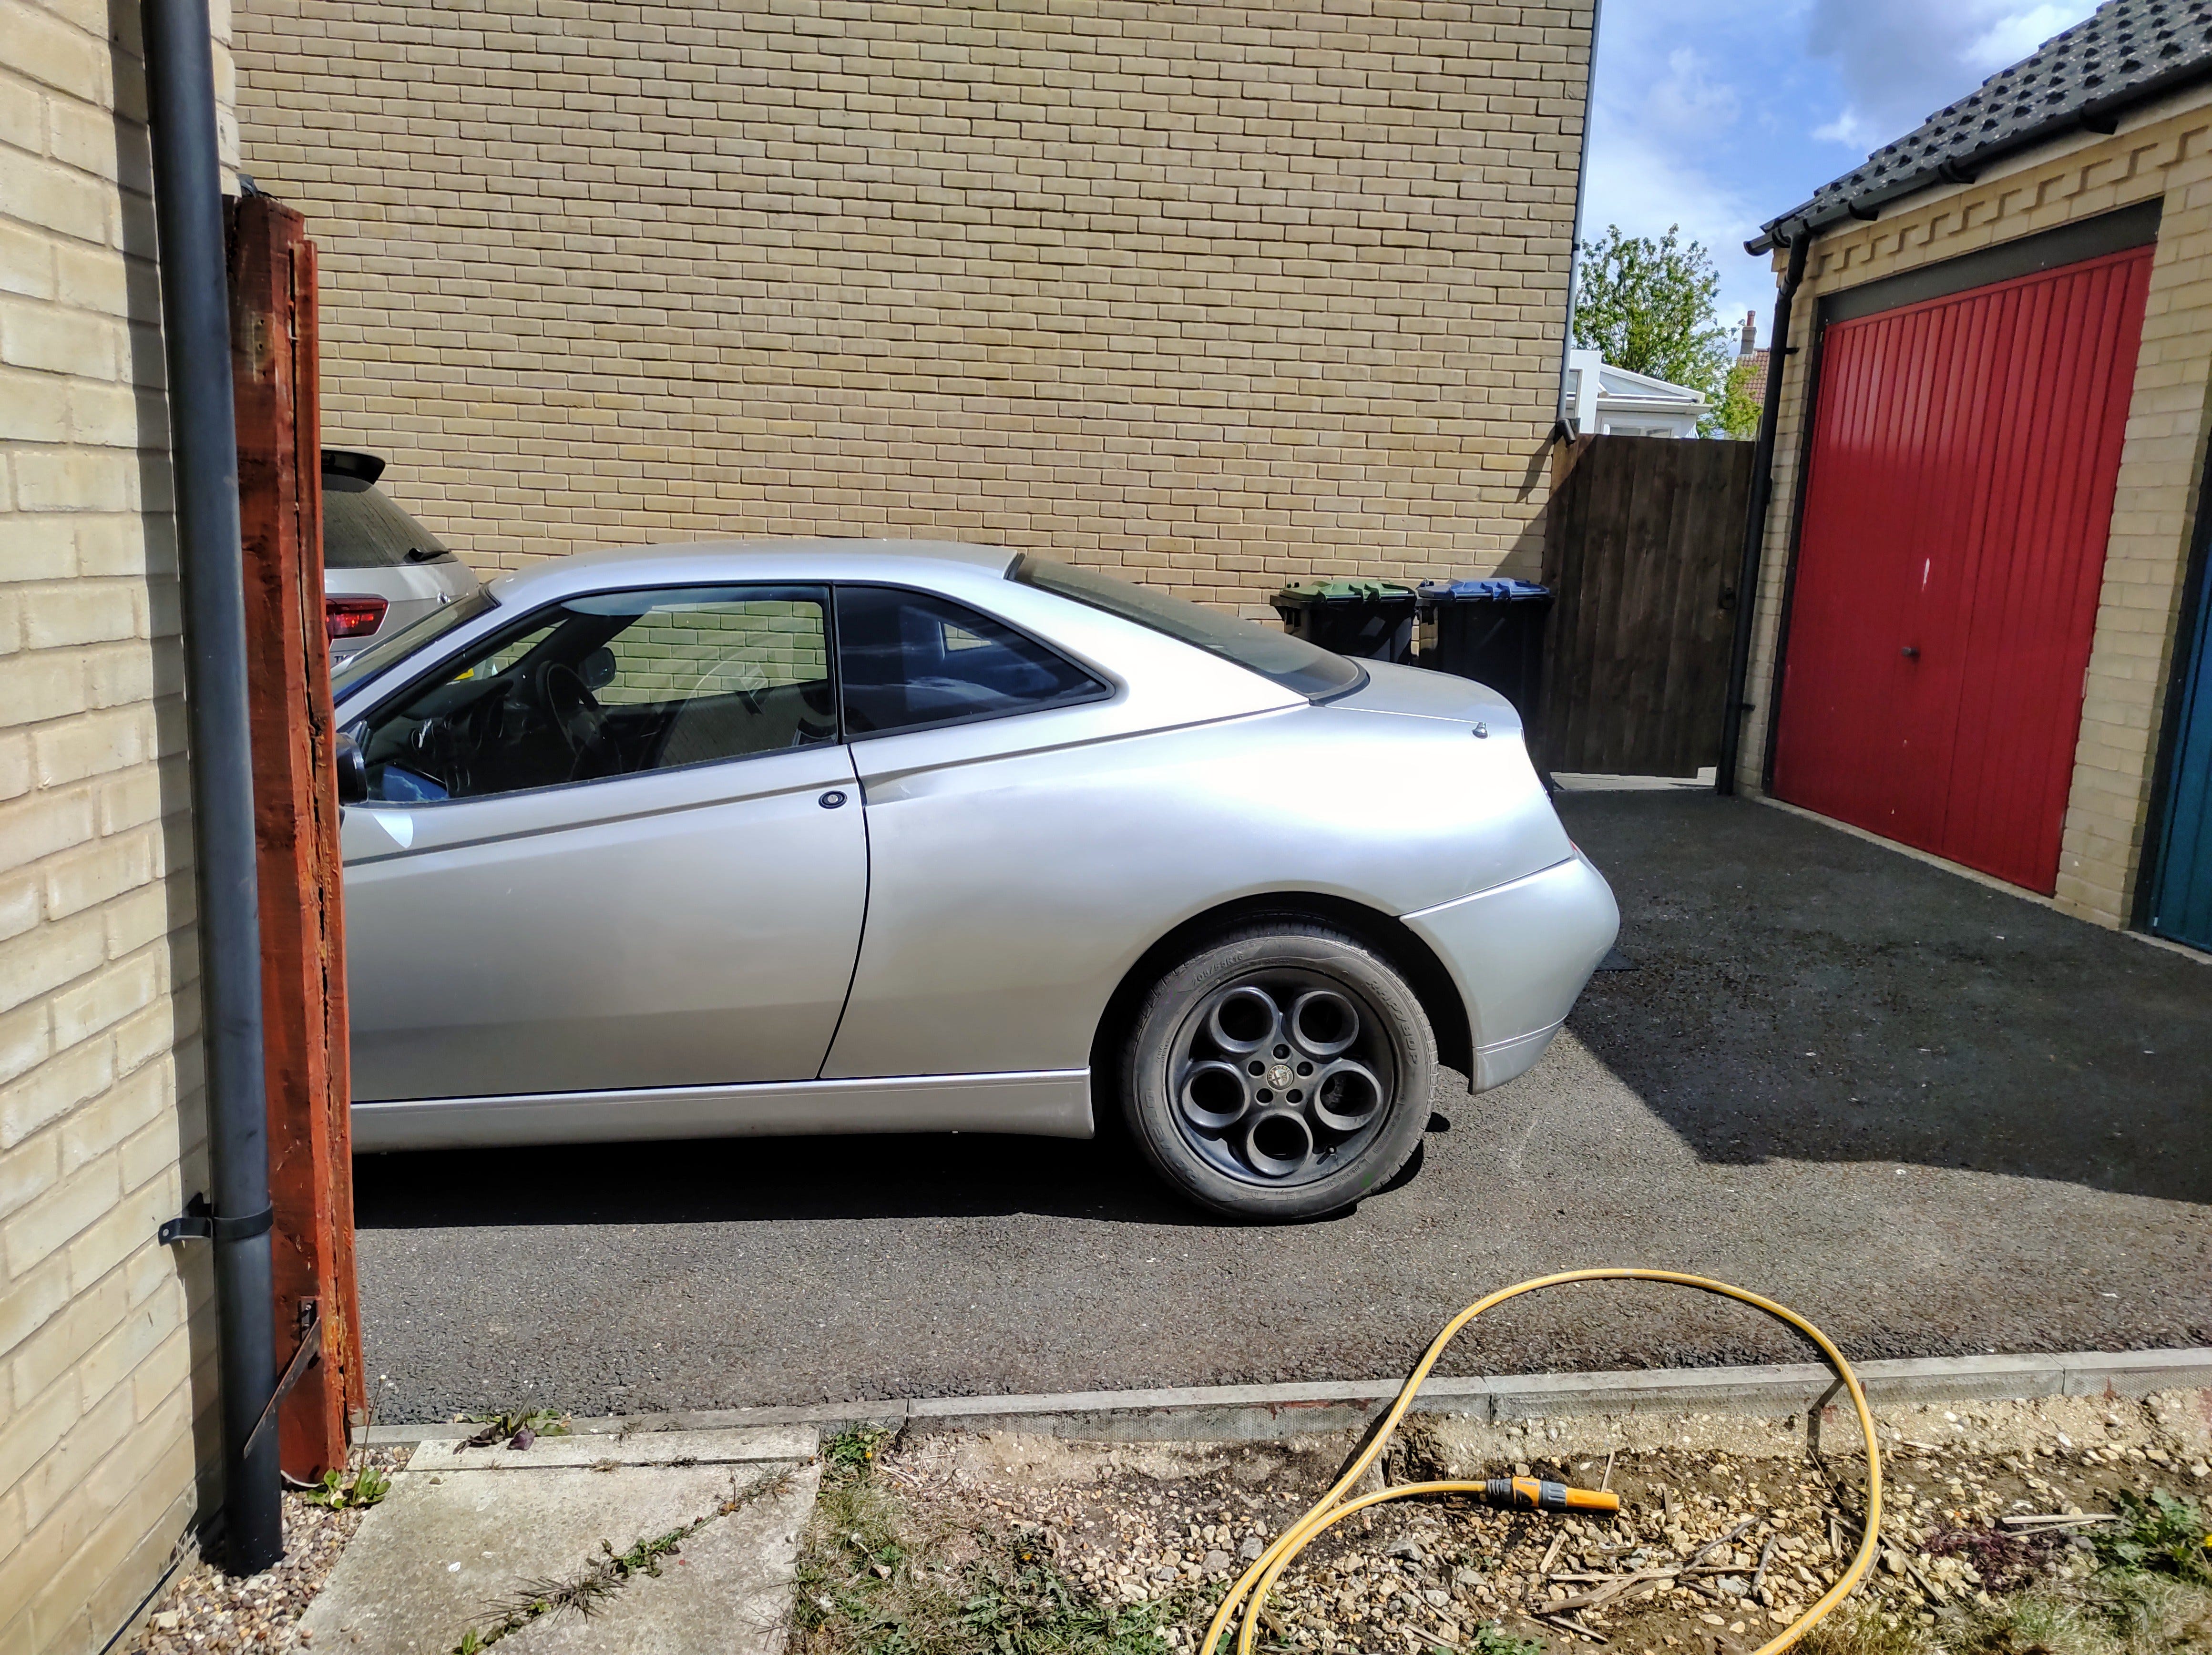
One area of car repair I would never attempt with any degree of confidence is paintwork. Unfortunately it’s one of Alf’s biggest weaknesses. Over 20 years and 130,000 miles of life on the road have not been kind to his exterior. There are scratches, stone chips, previous touch ups, dings and it’s been keyed at least once.
If it weren’t for the fact that there are other bills looming I would be tempted to get a full respray done. Instead I’ve decided to have a go at masking the problems to the point where it’s not so noticeable.
I think touching up the paint on a car yourself is only worth trying if you’re happy to potentially create a problem that’s worse than the original defect. It’s not as if I haven’t done research and had many attempts at it in the past. Some have gone OK, others have been a disaster.
")
Why is it so hard to do paint repairs at home?
When a car is painted in the factory it is done under strict conditions with laser precision. Once it leaves the factory it is exposed to a multitude of environmental hazards over the years. No car paintwork is the same after even a few months on the road. In fact some cars even leave the factory with paint defects!
Decent car bodywork specialists can respray and touch up a car replicating the original finish. But they will have spent thousands of hours practicing and perfecting their technique with equipment and premises designed for the job. This eliminates hundreds of variables you are likely to encounter at home. All it takes is a tiny variation in your technique, materials or the environment to ruin the outcome.
Touching up paint on the GTV
I decided to tackle the worst areas of the paint using wet sanding and an aerosol touch up kit where paint and lacquer had worn particularly thin or been removed completely.
It didn’t take much to remedy a sizeable area of lacquer peel on the rear bumper to the point that it’s not obvious from a distance. But the lacquer peel on one rear quarter was even worse, and I quickly created a bigger problem. The paint had almost worn through to the primer and at least part of the panel has been resprayed before. The resulting finish was patchy, and I’ve been trying to minimise the problem ever since.
Before:


After:
After lots of elbow grease trying to rectify them, that’s the best I can do with these larger defects. There are lots of smaller areas of lacquer peel, scratches and stone chips remaining that are also need attention. Hopefully I’ll get round to trying a less aggressive approach on these eventually.
Any advice for someone attempting this too?
Don’t! Seriously if your car has generally very good paint leave it to a professional who will charge you a lot less to sort out something like a deep scratch than fix the overspray, oxidation and runs you create by trying yourself.
That said I do have a lot of respect for other brave souls who try these things at home. I love the early Wheeler Dealers where Edd does his own touch-ups with a rattle can. But even Edd, who can turn his hand at most things, admitted the results weren’t the best. You must accept it could go wrong and have a lot of time on your hands. Here’s some tips if you must be as foolish as me:
Only ever try to repair the smallest area possible
Be meticulous in preparation
Mask off the surrounding panels, glass and trim, but don’t mask off parts of the panel you’re working on
Have all the equipment you need to hand such as:
masking tape and brown paper / newspaper
wet and dry sand paper (1200 & 2000 grit at least)
decent 3 stage touch up kit (if new paint / lacquer required)
lots of microfibre towels
rubbing/cutting compound and polish
clay bar
polishing pads and machine polisher (optional)
hose or other water source and the usual car cleaning products
Always clear the nozzle of a spray can by inverting it and spraying on something, shake them well and test the spray pattern before you start
Read and watch lots of different sources about technique and practice first
The need to put down any more than a very small amount of new paint is infrequent. Where you will spend most of your time is correcting the paint through a process of wet sanding, followed by rubbing/cutting compound and finally polish (in that order). You don’t necessarily need a machine polisher or fancy products for this either, as it’s only if you really know what you’re doing that they are likely to make a difference.
New paint rarely matches perfectly or blends in seamlessly. But if like me you are just looking to reduce the effect of paint defects then wet sanding and polishing can be enough to trick the eye such that the colour merges from a few metres away. If you can get a reasonable consistency right across panels to any edges / creases it will blend a lot better. Just don’t expect it not to be noticeable up close. Regularly standing back and looking carefully at the overall finish helps figure out where more work is needed. Making use of the profile of the panels can also help to disguise differences in the paint.
Also be aware that some of the advice you find online is terrible: you’ve seen my results so definitely take mine with a pinch of salt!
Finally it’s a really good idea before you start to consider what overall state the car is in, what the car is used for and what you’re trying to achieve. Not every car needs pristine paintwork, nor will you likely be able to restore it to such a state on your own. But if you’re anything like me, in the spirit of a young Edd China, you might want to try it at least once in your life. If nothing else you will gain an appreciation of just how much a professional job is worth every penny!