


My GTV ‘Alf’ is still alive and well. So well in fact I sometimes find myself grabbing the keys just for a drive. I don’t think many other cars offer such an accessible sports car experience for the current value of the ‘916’ Alfa GTV / Spider. Despite the lack of rear wheel drive it is sharp and precise to drive with lots of nice touches which make it feel that little bit special.
As far as work on the car goes I’m gradually forming some plans and acquiring a few bits I'll need.
I’ve been aspiring to buy some form of serious car lifting equipment for a while but I've decided against it for now. The GTV doesn't have much ground clearance and the options I've been looking at don't play well with low cars.
Instead I decided to buy some low rise ramps. I've never trusted ramps, usually opting for the traditional combo of a trolley jack to raise the car and axle stands to support it. But hopefully this will provide an easy way to get the car in the air and enough clearance to raise it further if more access is required or the wheels need to come off. I'll let you know how it goes when they turn up.
In the meantime I decided to tackle a simple but fiddly job, which makes it a good candidate for my first technical guide on the GTV:
Alfa Romeo GTV / Spider (916) door stay
Door stays or ‘door check straps’ stop your car door from just flying open and bear the brunt of a fair amount of abuse. Eventually they will fail sooner or later depending on the quality of their design. Your door will then swing open all the way unless you catch it and often produce a rather annoying clicking noise.
The driver’s side door of my GTV was somewhat afflicted. It’s something I could live with, but having owned several cars with this problem in the past and never having tackled this particular job I thought it might be time to learn.
The Alfa Romeo workshop guide is helpful but contains unnecessary steps so I'll try to describe what worked for me.
1. Obtain a complete door stay of the correct type. Save yourself a few quid and live a bit dangerously by trying a used part from eBay like I did, or shell out for a new one.
2. Open the door to reveal 2 bolts on each side - 2 on the door and 2 on the A pillar.
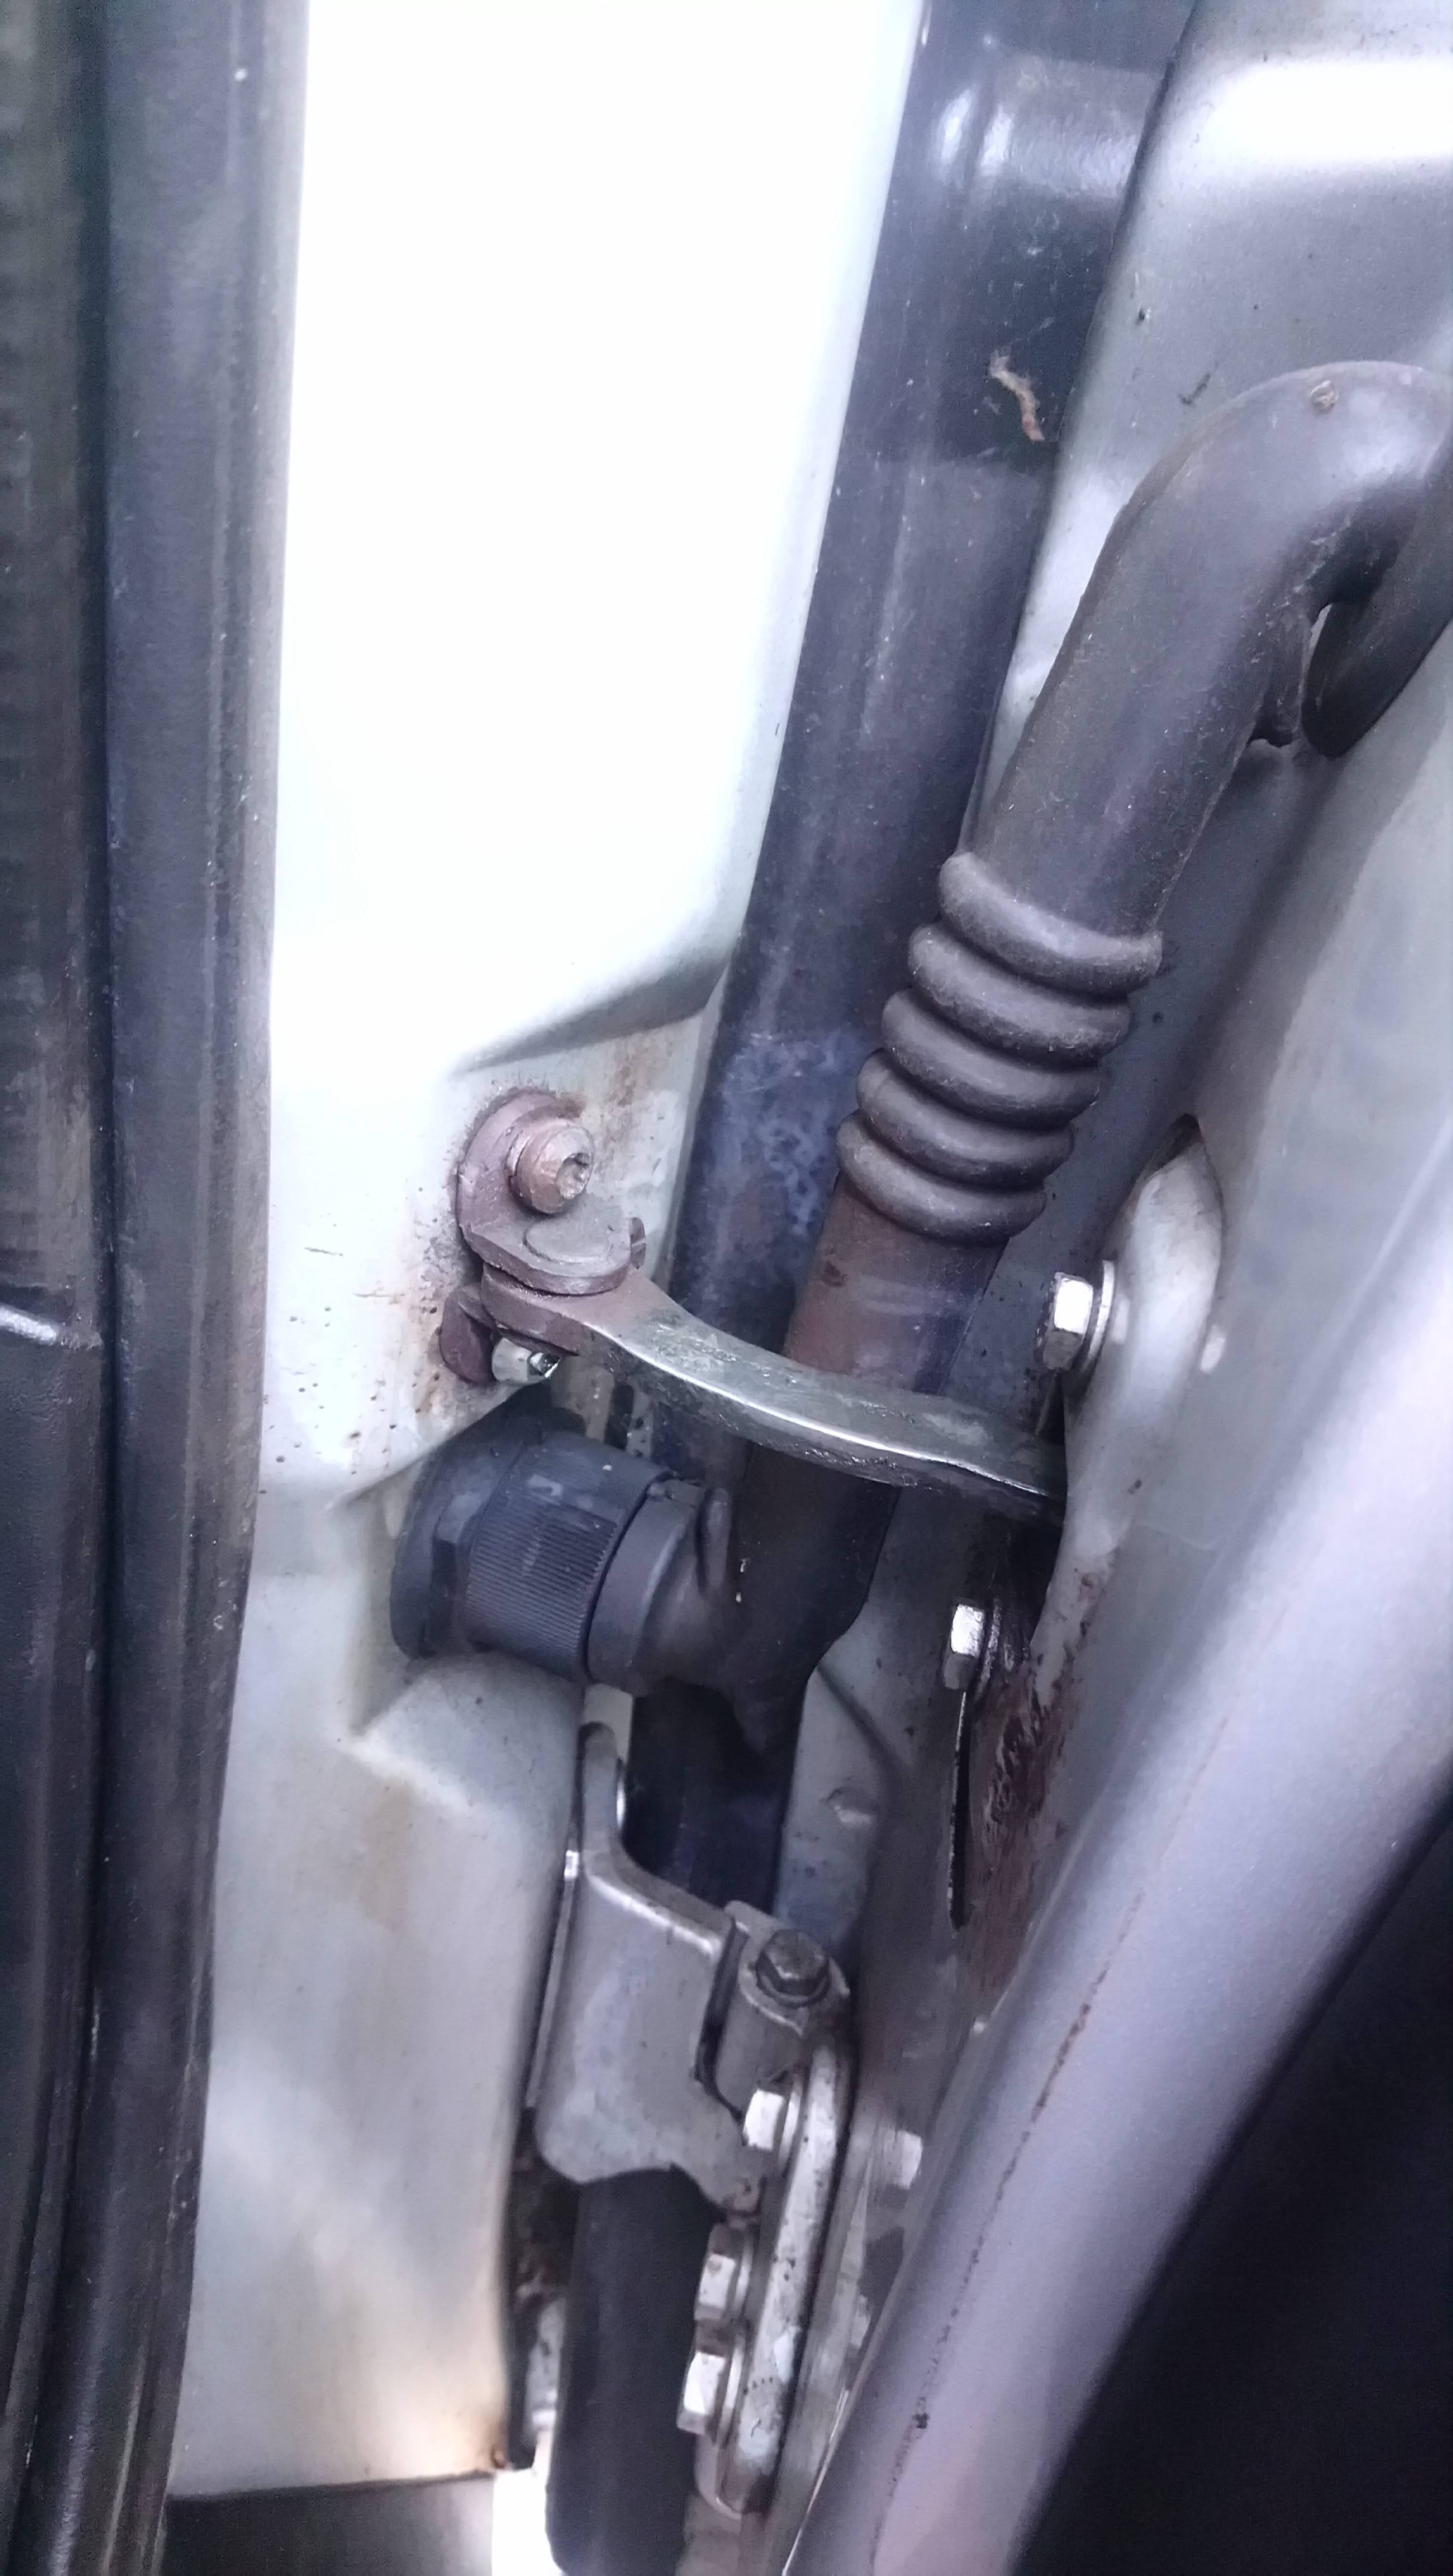
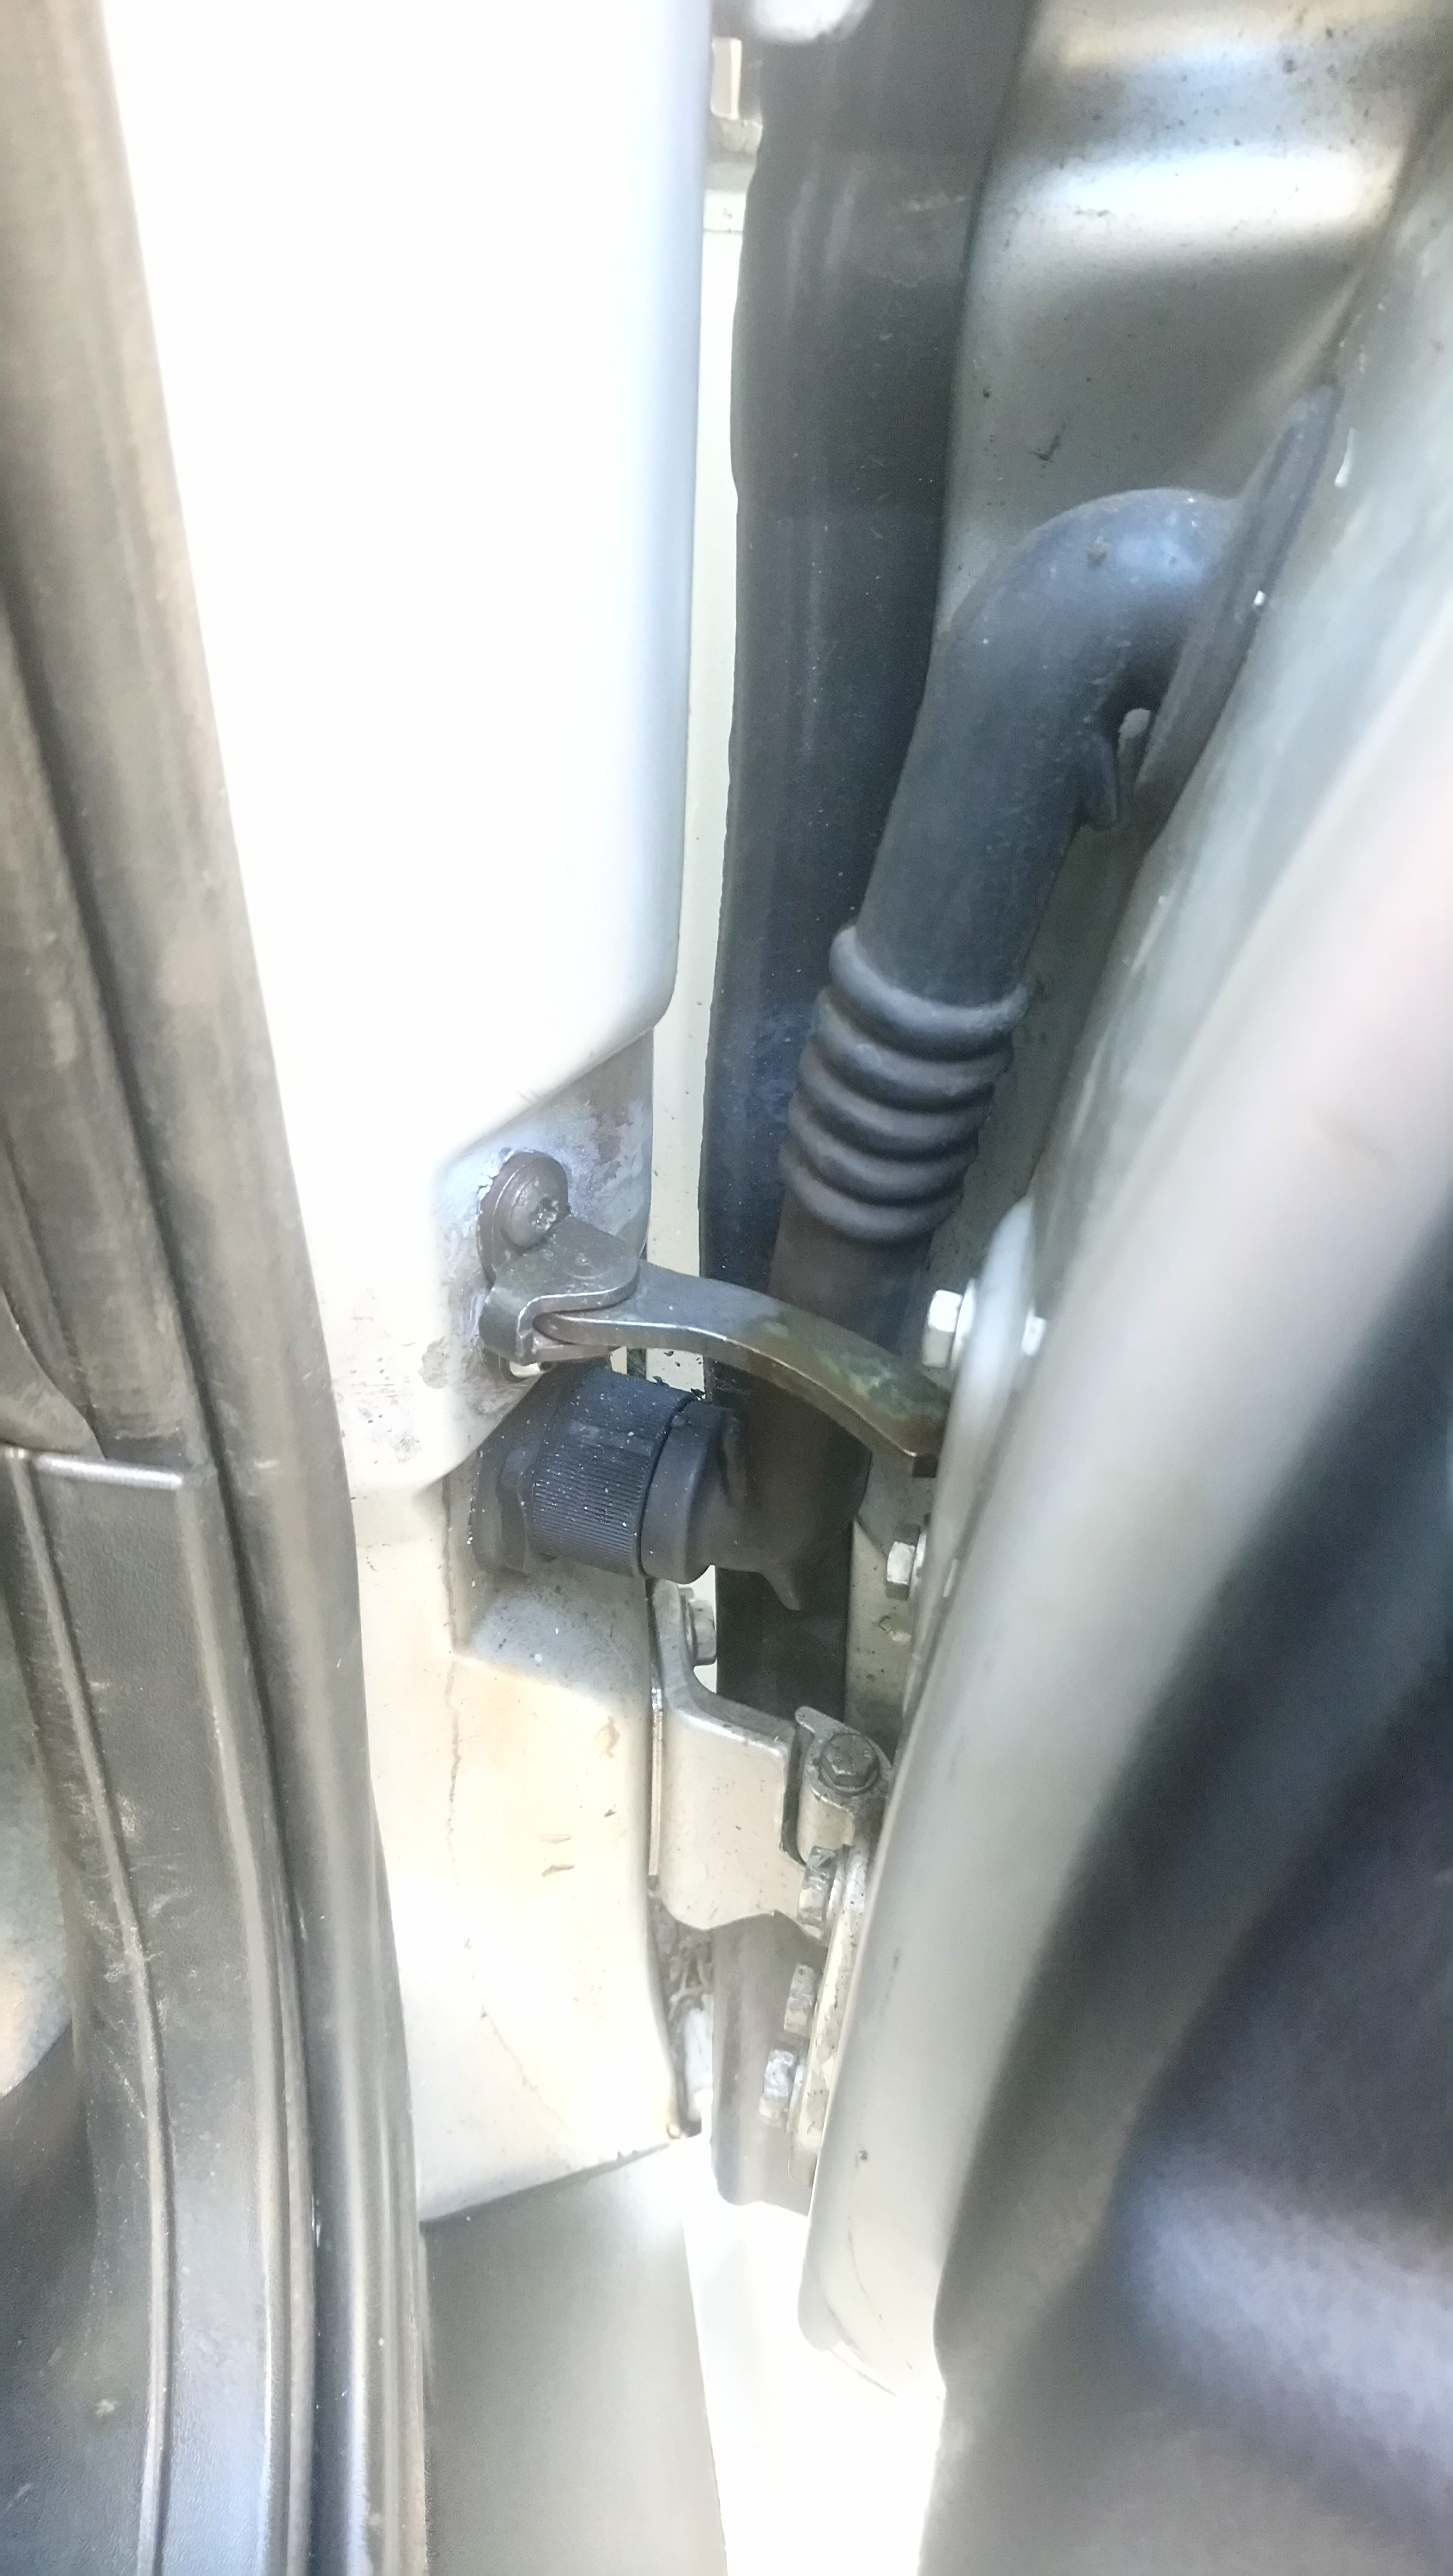
3. Observe the orientation of the door stay on your car (taking a picture is a good idea). It may be of little importance, but in this case I believe it to be incorrectly installed. I think it should be concave / curve inwards - see the last photo in this guide.
4. The workshop manual states to remove the door card. Presumably this is for better access but I found it to be of no benefit and somewhat of a faff. So ignore this and carefully pop off the lower door speaker cover with a flat bladed screw driver. Remove the 4x posidrive screws then extract and unplug the speaker.
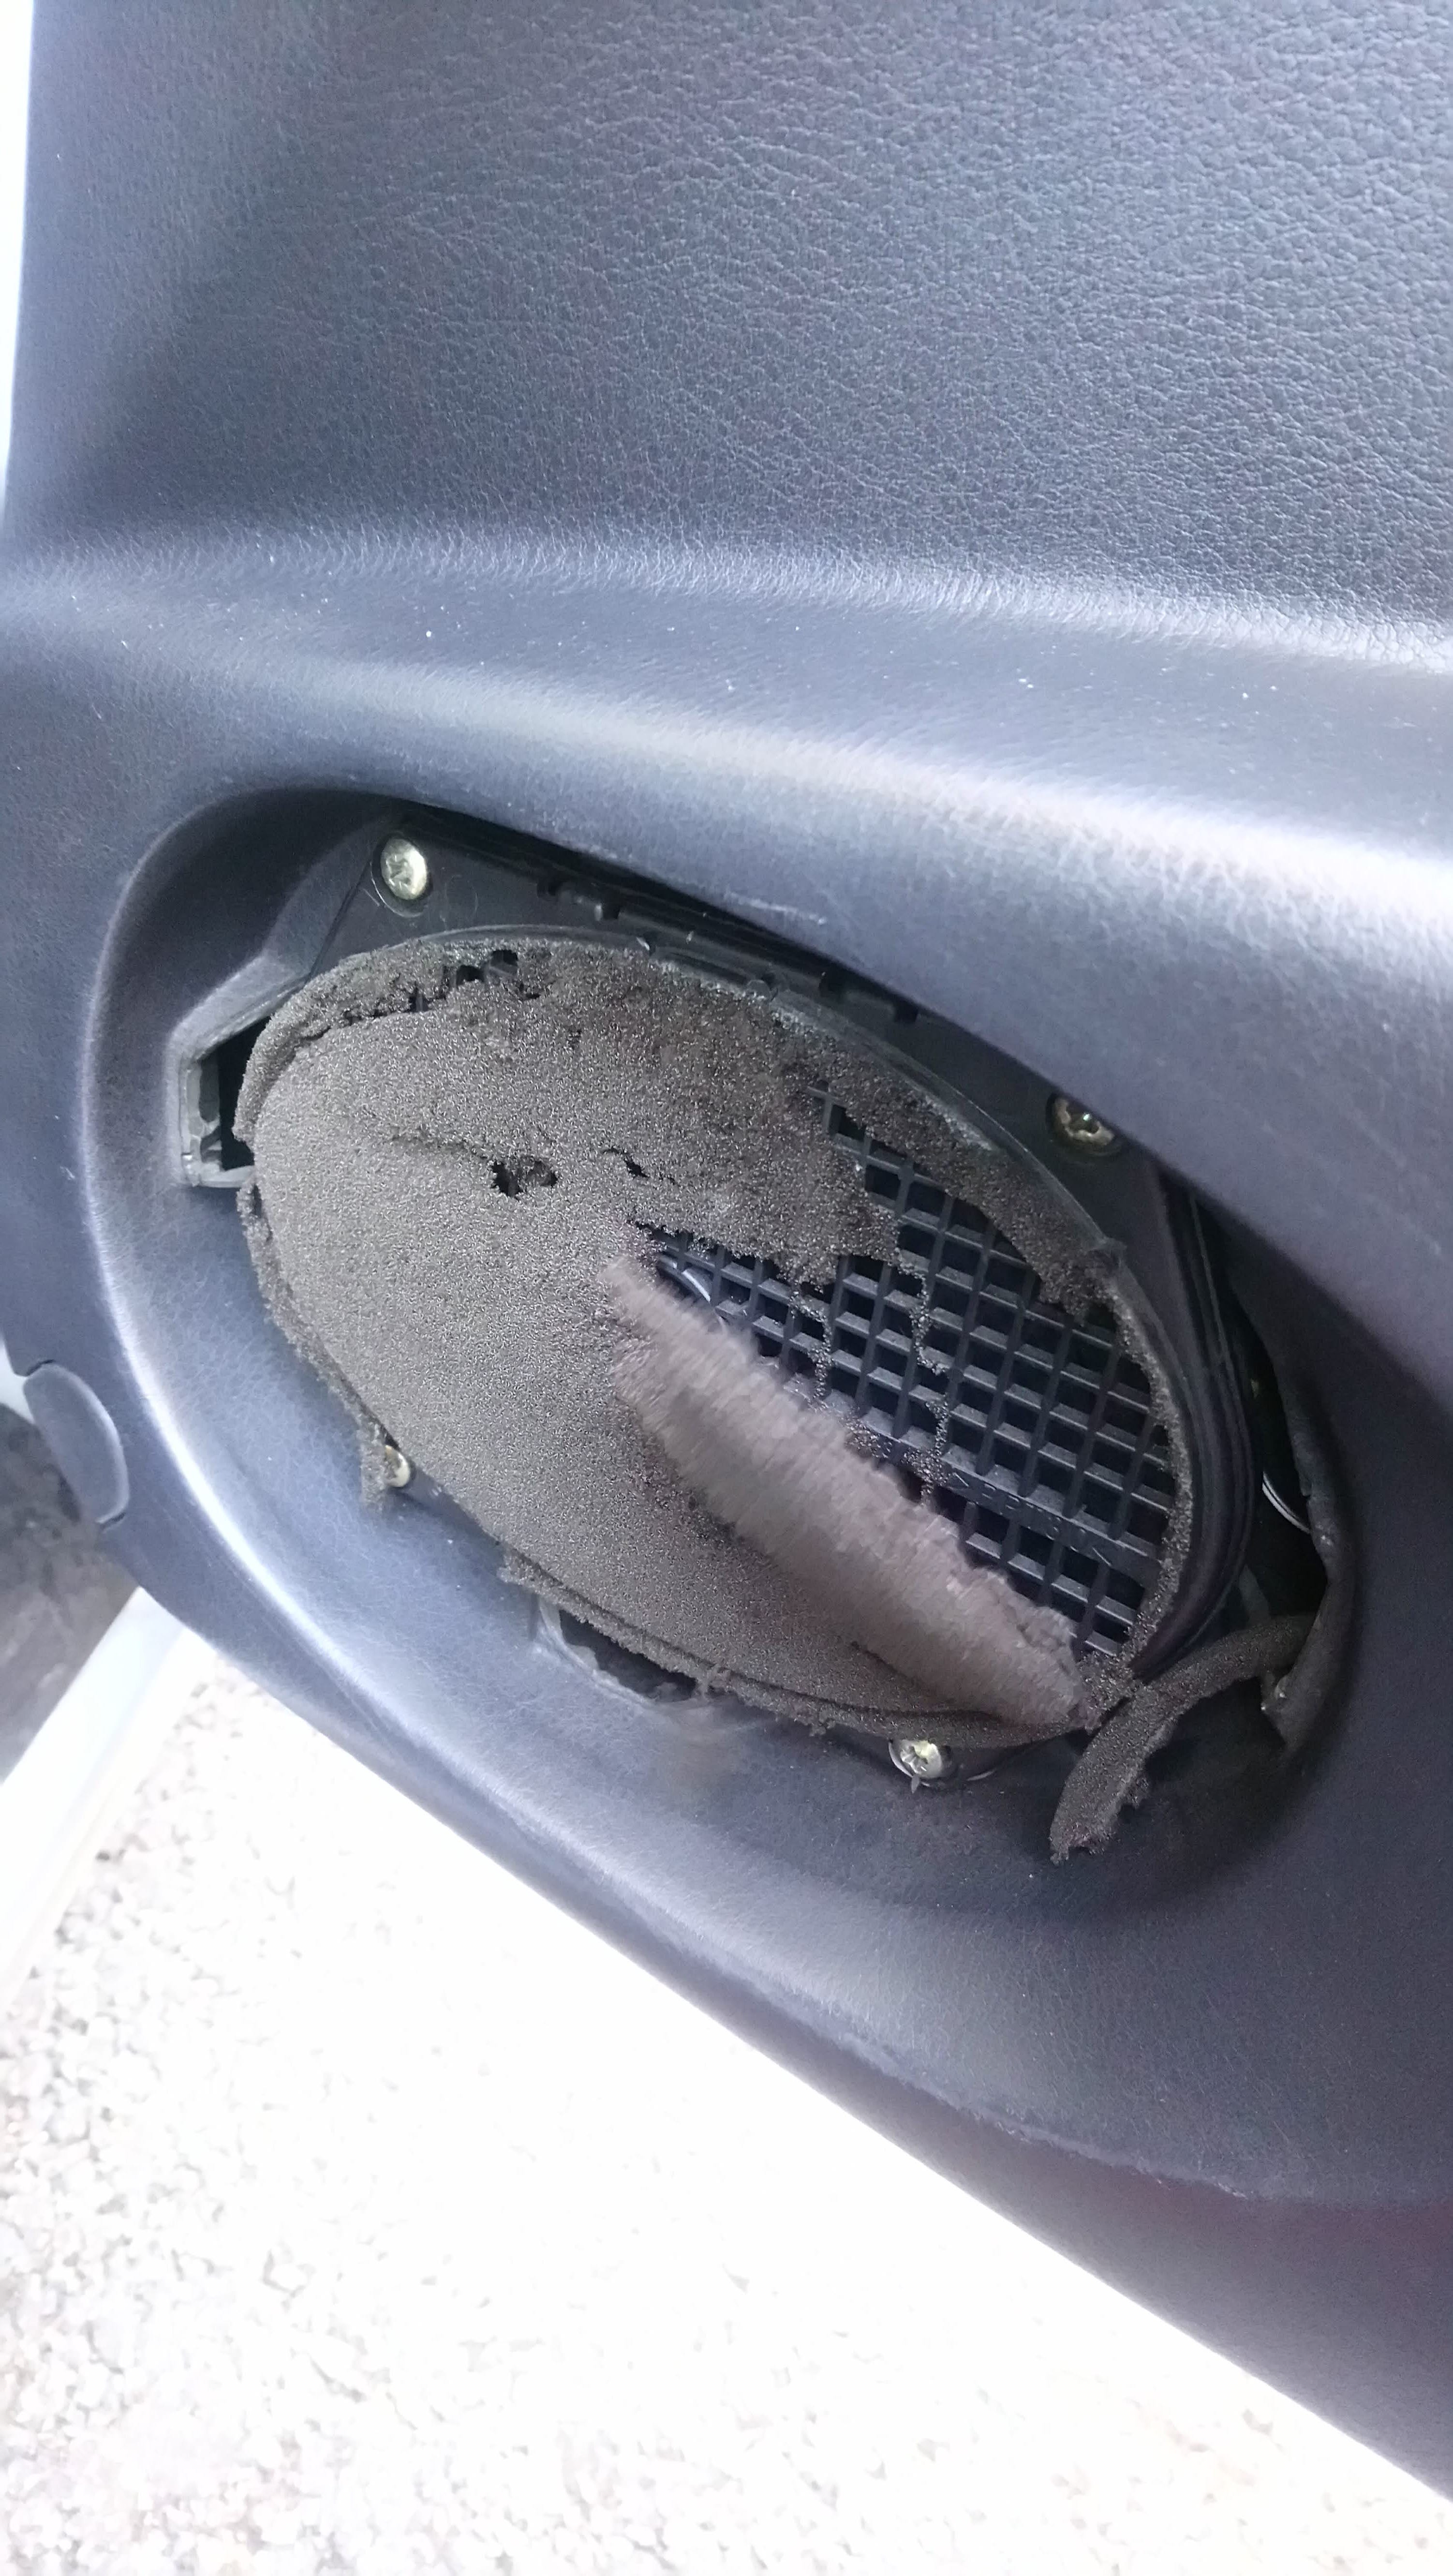
5. You will probably find the thin door membrane is either gone or split as someone will have likely been in here before. If not you have two options - cut a hole in the membrane or take the door card off.
6. Undo the bolts holding both sides of the door stay in place (the 2 bolts going into the A pillar are Torx T30 size) . If possible extract one half of the door stay by detaching it from outside the door and the other by reaching into the speaker aperture. Alternatively pull the whole thing out through the door via the speaker.
7. Right: that's the easy bit over with. Laugh at my joke and get your new door stay ready.
8. As per the workshop guide it is a good idea to treat where the stay meets the pillar with primer. The paint will have inevitably been removed and it may have rusted slightly. I opted for some rust converter first, then some stone chip primer.

9. Now you need a lot of patience or to enlist someone with tiny hands. Post the new door stay up into the door through the speaker hole such that the long ‘arm’ piece can be pulled through the aperture. I didn't dismantle the new door stay at all - in fact it is very hard to do this completely without damaging it. Just post the whole new door stay through the aperture - you may have to rotate it to get the bracket to fit through but it will work - trust me!
10. Now you’ve pulled it through you can use the arm with the bracket on the end as a handle to line up the bolt holes of the piece that’s inside the door. This is the reason you don’t want to insert the two halves separately from either end as you will have to be a contortionist to get them connected and the bolt holes lined up this way.
11. Put the 2 hex door bolts back in securing the door stay to the door. Then do the 2 torx bolts to connect the bracket up to the pillar. Note that you must do these up fully to avoid any annoying clicking sound. Careful not to strip the torx heads though as it's a narrow gap.
12. Put the speaker back together (reconnect it, put the 4 screws back in and then pop the cover on again).
Fiddly work for such a small problem but it is satisfying when it’s done.
Once the door card I pointlessly removed was back on I also adjusted the door at this stage by undoing the 3 hex bolts on each door hinge slightly, jacking up the end of the door which had dropped slightly and tightening them.
Once you’ve done it once, you can probably do the other side in next to no time. As the door stay on that side of my car is still holding up fine I think I'll have a cup of tea now instead.
If you found this article useful and you would like to fund that cup of tea follow this link to leave a small donation.