Fitting a cigarette lighter to the VW Polo MK2
Adventures in Polo 86c electrical upgrades / modifications
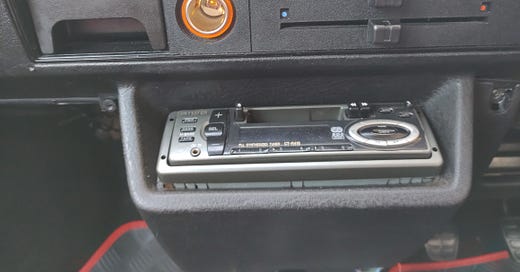
I always find electrics a challenge, but I was recently successful in installing a cigarette lighter in my Polo. Being a Polo Fox edition (which equates to the fairly basic 'C' model trim), it only featured a blanking circle on the dashboard next to the heater controls where a cigarette lighter would normally be installed.
Fortunately I had the part from an old project which I never got round to fitting as well as some automotive cabling and crimp terminals so it was an upgrade that didn't cost me a penny. I started out unsure as to where I would connect the lighter to the existing circuits and also where I would fit it.
I really wasn’t sure I’d get it working with the light coming on with the sidelights and the socket only active with the key in the ignition turned on. Nor was I particularly confident in a ‘factory finish’ by drilling out the blanking area in the dashboard. So I did the obvious thing and put the job off for too long, relying on an emegency power pack to charge my phone in the car!
Investigating the existing circuits
Eventually I mustered the courage to tackle the job. I tried to study the Haynes Manual circuit diagrams, but had more luck investigating the existing wiring with a multi-meter. I checked some of the wires on the aftermarket radio a previous owner installed, including some loose uninsulated wires which thankfully had no power going through them. I also switched the radio on without the ignition and confirmed that it was permanently live, and that the interior bulb which was supposed to be on the same circuit was receiving no power.
All this told me that tapping into the existing accessory circuit would be a bad idea until I figured out what had been done to it. Instead I found from a bit of research often a good place to add additional circuits is the wiring near or in the fuse box of a vehicle. This is because usually you have a fuse layout to work with telling you which fuse and wire belong to which circuit.
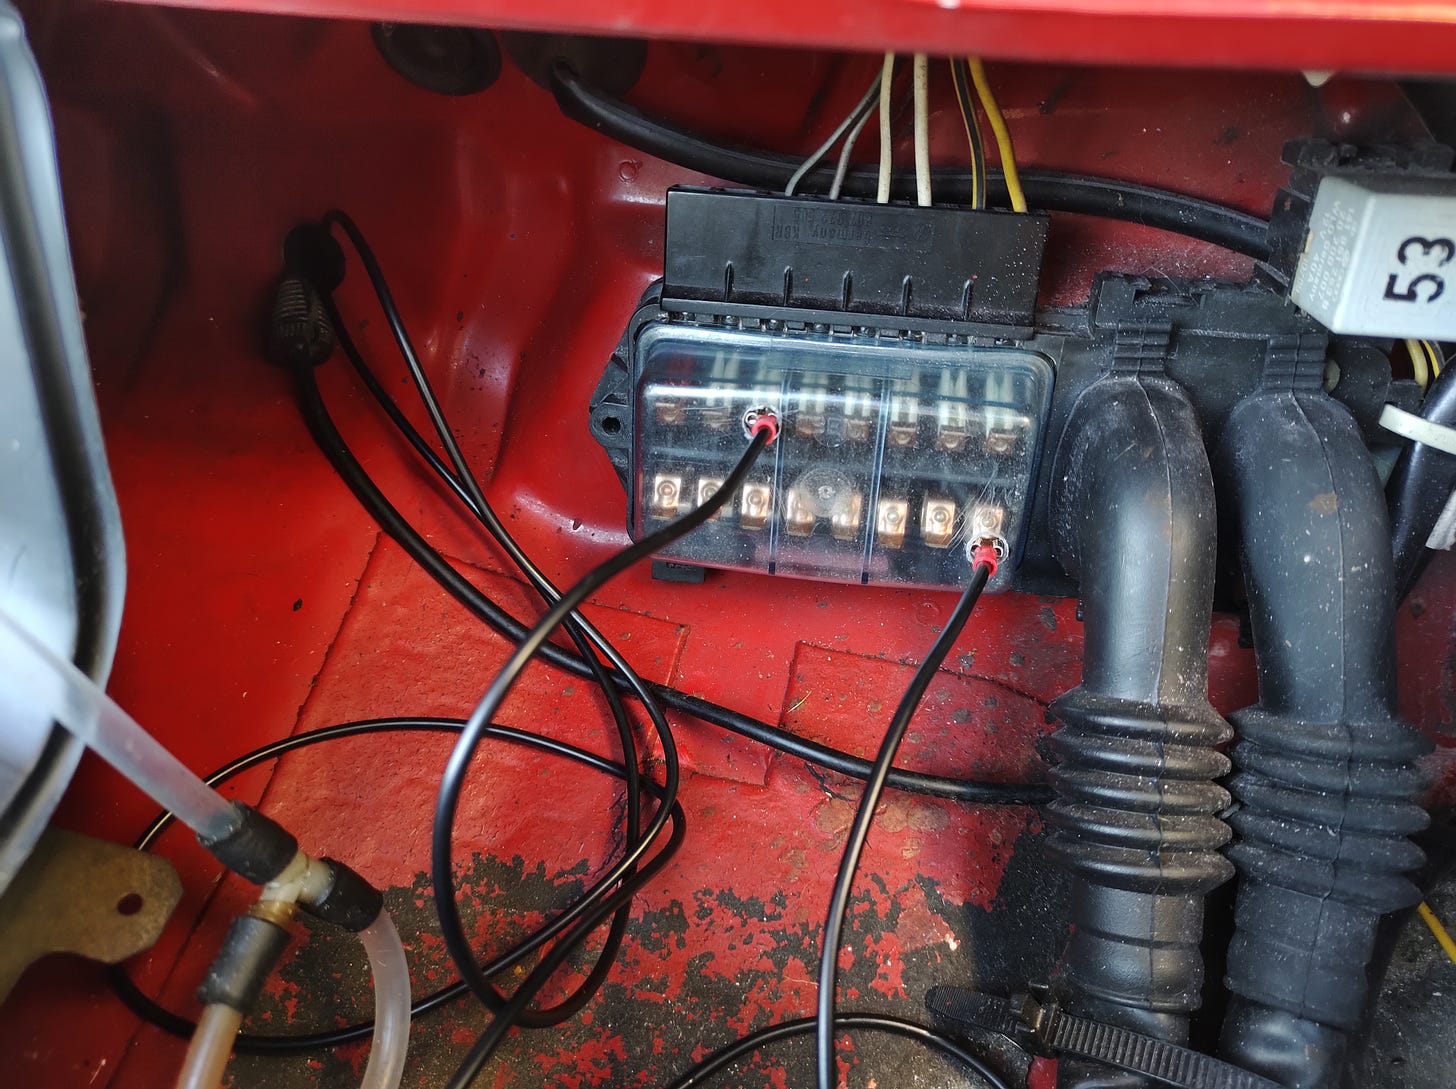
After probing the fuses with a multi-meter I found several suitable places to take power that were only live with the ignition on, and also the side lights. Helpfully on each fuse there was a ‘prong’ which would act as a terminal to connect a standard automotive spade connector.
Coming up with a plan
I decided I would try and connect wires to my ignition and side light circuits from the fuse box and run them through the bulkhead into the car. Then I simply needed to attach the wires to the cigarette lighter and find a suitable screw / bolt to run the ground wire to that was already hard wired into the lighter.
As you can see I drew a simple circuit diagram to help me understand which wires I would need and plan a future fix for the interior light too. All that was left to do was make up the wires, attach the relevant connectors using a crimping tool and connect it all up to test things.
I’d had some experience with crimping before and though it would be more professional to solder these wires, it does add the flexibility to easily disconnect or alter the wiring afterwards.
Installing everything on the car
With everything made up and ready to go it was relatively straightforward to fit on the car. I identified a suitable existing hole in the bulkhead to pass the wires through which already accommodates one existing wire and is large enough for another two coming from the fuse box connections. I will add a rubber grommet or some insulating tape to protect the wires from chafing in the hole later.
I dropped some string down the hole (since it was hard to push the wires through due to the awkward location behind the dashboard). This appeared inside the car in the passenger footwell after pushing enough through and all I needed to do was tie the end of each wire in turn to this string and pull them through.
Then connecting everything up was simple, and thankfully it all worked perfectly.
Finishing up
So I had a cigarette lighter dangling from the dashboard and a couple of messy wires connected to the fuse box which now has no cover. That's because of a bit of an oversight since there was no gap to pass the wires through.
To tidy everything up I removed the heater control / cigarette lighter panel from the dashboard. Fortunately the simplicity of the Polo means this is just a case of pulling off the heater controls, unscrewing 2 retaining screws and withdrawing the panel.
Then there was nothing for it but to drill the hole with the correct size hole saw. Fortunately this went well and then all I needed to do to complete the ‘factory finish’ was pull the cigarette lighter and wires through and screw the outer shell section onto the inner to retain it onto the panel and replace the panel.
I then tested it again, tidied up the wires with cable ties and turned my attention to the problem of the fuse box cover. Since drilling the dash went well, I decided there was really only one option if I was going to stick with my idea of using spade connectors directly to the prongs / terminals on the fuse holders. I drilled small holes to pass the wires through so I could still remove and withdraw the fuse box cover, as well as the wires if needed.
The only dissatisfactory part of the install is the fact that the fuse box is now not as watertight as it was before. I plan to add some rubber grommets which should help, and due to the location of the fuse box it should be fine. But please don’t take my work as guidance on what to do as I’m sure there are better approaches!
Regardless I was pretty pleased with this upgrade once it was all complete. It’s by no means perfect but I sought advice before proceeding with the plan make sure I wasn't doing anything too stupid and it all works with no signs of any issues or short circuits. In future I can extend the new circuit, in particular to fix the non-working interior light. For now I’m just happy to know I can now charge my phone from the car.


Thanks for writing this! I need to tap into the ignition as I'm installing air suspension on my MK2 breadvan very soon. I think I will do similar and take the ignition wire from the airride manifold and run it to the fuse box, then connect to a fuse that only powers on with the key turned. I'll use a spade connector like you have. Hopefully this will work. I am dreading drilling the cover though!